[root@www ~]#/etc/rc.d/init.d/mysqld start
Initializing MySQL database: Installing all prepared tables
Fill help tables
To start mysqld at boot time you have to copy support-files/mysql.server
to the right place for your system
PLEASE REMEMBER TO SET A PASSWORD FOR THE MySQL root USER !
To do so, start the server, then issue the following commands:
/usr/bin/mysqladmin -u root password 'new-password'
/usr/bin/mysqladmin -u root -h www.server-linux.info password 'new-password'
See the manual for more instructions.
You can start the MySQL daemon with:
cd /usr ; /usr/bin/mysqld_safe &
You can test the MySQL daemon with the benchmarks in the 'sql-bench' directory:
cd sql-bench ; perl run-all-tests
Please report any problems with the /usr/bin/mysqlbug script!
The latest information about MySQL is available on the web at http://www.mysql.com
Support MySQL by buying support/licenses at http://shop.mysql.com
Starting MySQL: [ OK ]
[root@www ~]#chkconfig mysqld on
[root@www ~]#mysql -u root
# login to MySQL
Welcome to the MySQL monitor. Commands end with ; or g.
Your MySQL connection id is 2 to server version: 5.0.22
Type 'help;' or '\h' for help. Type '\c' to clear the buffer.
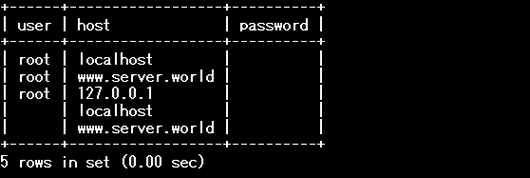
# show user info
mysql>select user,host,password from mysql.user;
# set root password
mysql>set password for root@localhost=password('password');
Query OK, 0 rows affected (0.00 sec)
# set root password
mysql>set password for root@'www.server-linux.info'=password('password');
Query OK, 0 rows affected (0.00 sec)
mysql>select user,host,password from mysql.user;
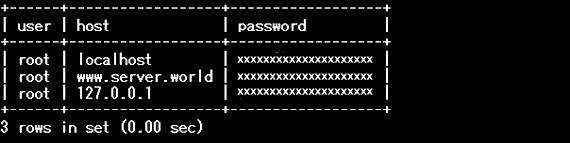
# delete anonymous users
mysql>delete from mysql.user where user='';
Query OK, 2 rows affected (0.00 sec)
mysql>select user,host,password from mysql.user;
mysql>
exit
# logout
Bye
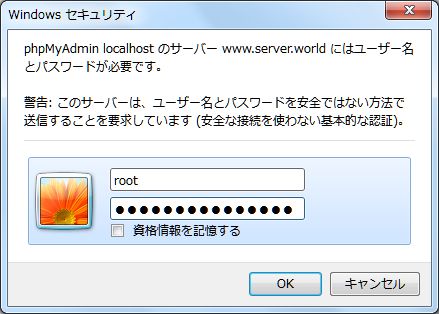
[root@www ~]#mysql -u root -p
# login as root
Enter password:
# root password
Welcome to the MySQL monitor. Commands end with ; or g.
Your MySQL connection id is 4 to server version: 5.0.22
Type 'help;' or '\h' for help. Type '\c' to clear the buffer.
mysql>exit
Bye